

Single sign-on
Single sign-on sends everyone with an email address on your domain to your company's identity provider when they sign in to Capy. Admins set it up in Settings → Org → Identity & access, with no need to contact Capy.
Before you start
| Requirement | Details |
|---|---|
| Role | You're an admin or owner of the organization. |
| Plan | A Lite, Pro, or Max plan, and the single sign-on add-on at $100 a month. Enterprise plans include single sign-on. |
| Domain | A domain that your organization verified with DNS. See Verify your domain. |
| Identity provider | You can create an app in your identity provider, or you work with someone who can. |
| Google Workspace OAuth only | Your Capy account has a passkey or an authenticator app. |
Your organization has one single sign-on connection at a time, and the connection covers one domain.
Verify your domain
Capy turns on single sign-on only for a domain that your organization proves it owns with a DNS record. Only one organization can verify a domain with DNS.
Add the domain
Under Domains, choose Add domain and enter the domain, for exampleexample.com.Get the DNS record
Choose Verify with DNS on the domain, then Get DNS record.Add the TXT record
At your DNS provider, add aTXTrecord with the host_capy-verification.example.comand the value that Capy shows. The value starts withcapy-domain-verification=.Verify
Choose Verify. If your DNS provider hasn't published the record yet, wait and choose Verify again.
Keep the TXT record after verification. Capy checks it every day. If the record is missing for 7 days, Capy removes the verification and pauses single sign-on for the domain.
Google Workspace OAuth or Google Workspace SAML
If your company uses Google Workspace, you can connect it in two ways. Google Workspace OAuth connects in one click, with nothing to set up in Google. It uses OpenID Connect, which is built on OAuth 2.0. Google Workspace SAML uses a SAML app that your Google admin creates in the Google Admin console.
| Google Workspace OAuth | Google Workspace SAML | |
|---|---|---|
| Setup in Google | ✓ None | A custom SAML app in the Google Admin console |
| Who can sign in | Everyone with an account on the domain | ✓ Only people the app is turned on for |
| Removing access | Suspend or delete the user in Google | ✓ Turn off the app for the user, or suspend or delete the user |
| First and last name | ✓ From the Google account | ✓ From the attributes that you map |
| Require single sign-on | ✓ | ✓ |
Choose Google Workspace SAML when your Google admin wants to control who can sign in to Capy.
Set up single sign-on
Open single sign-on
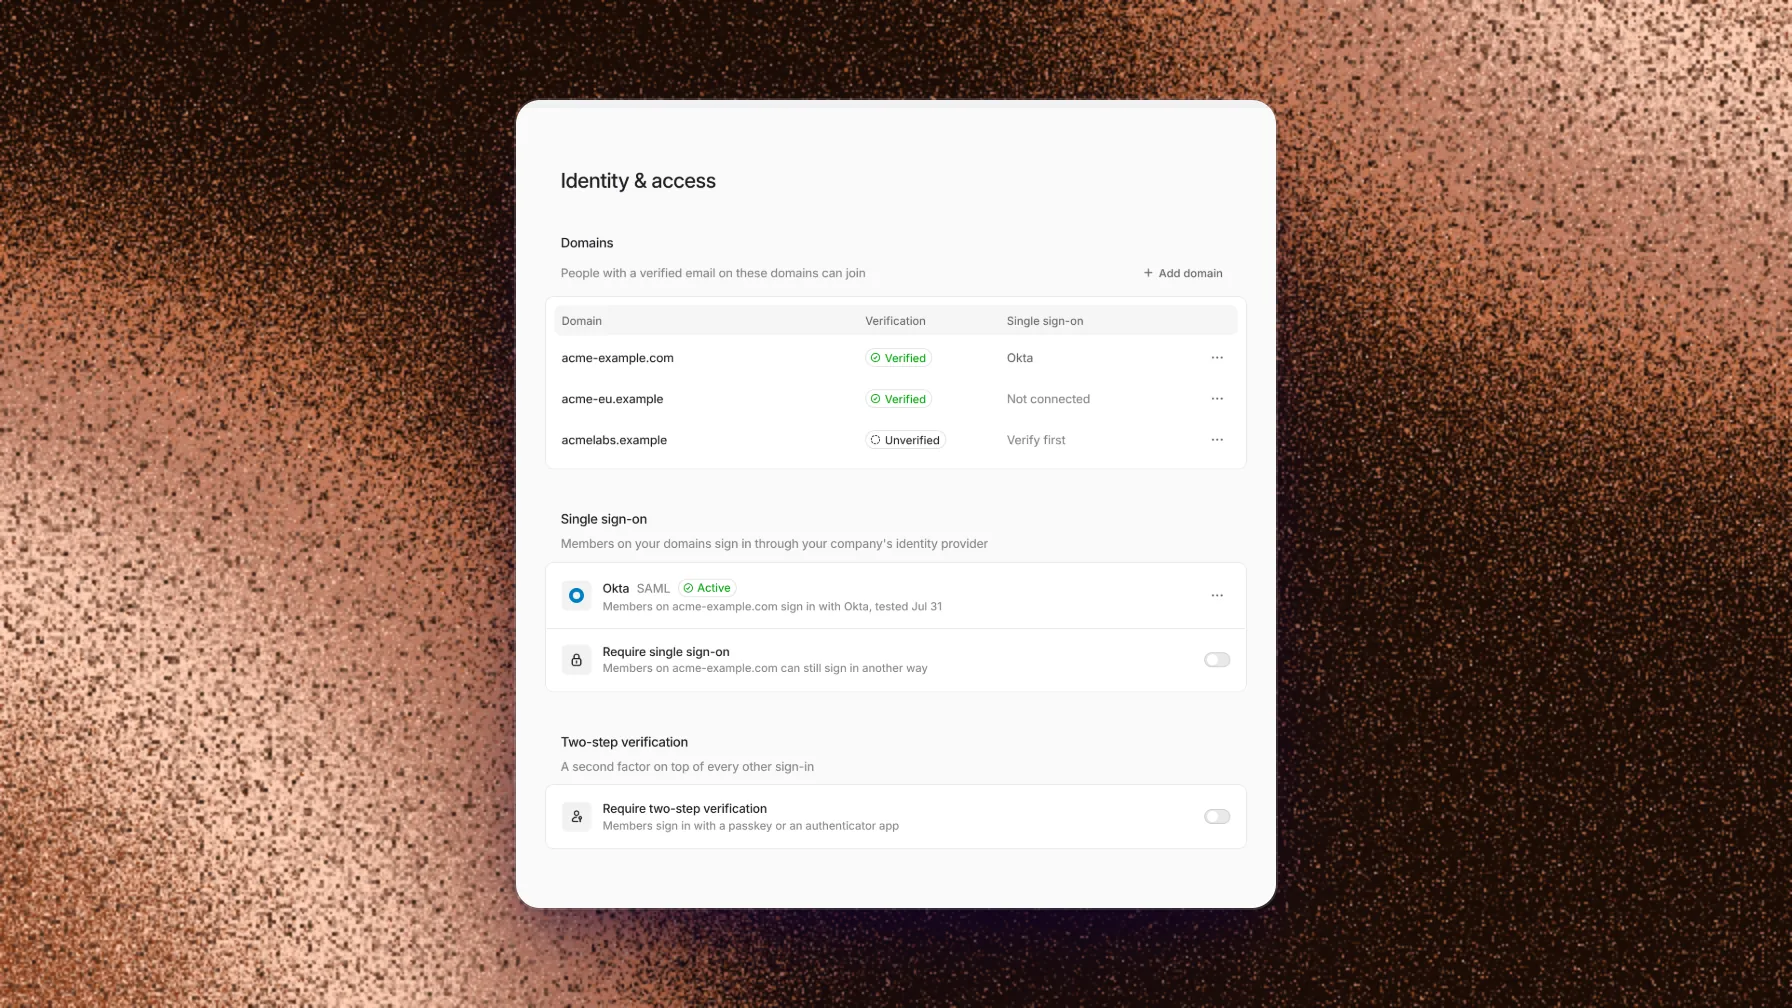
In Settings → Org → Identity & access, find Single sign-on and choose Set up.Add single sign-on to your plan
If your plan doesn't include single sign-on, Capy shows the amount due today and $100 a month after that. Add it to continue. The add-on renews with your plan until you cancel it in Billing.Pick your provider
Choose your identity provider, then choose Continue.
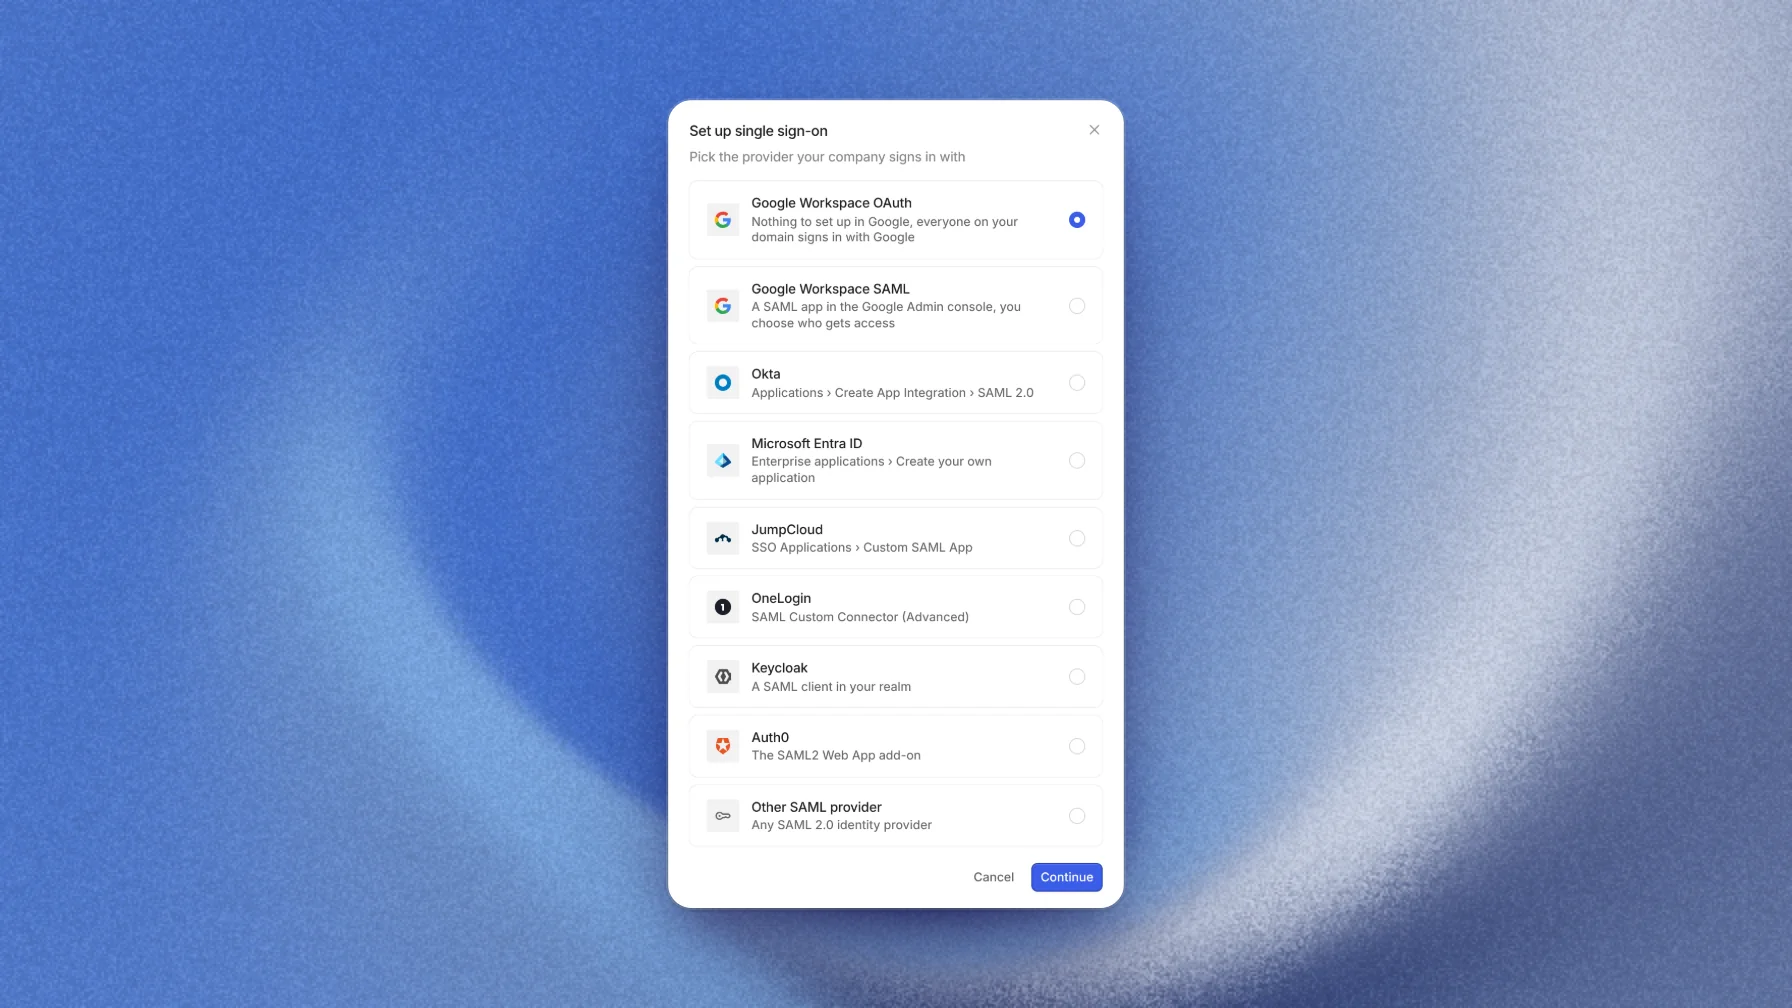
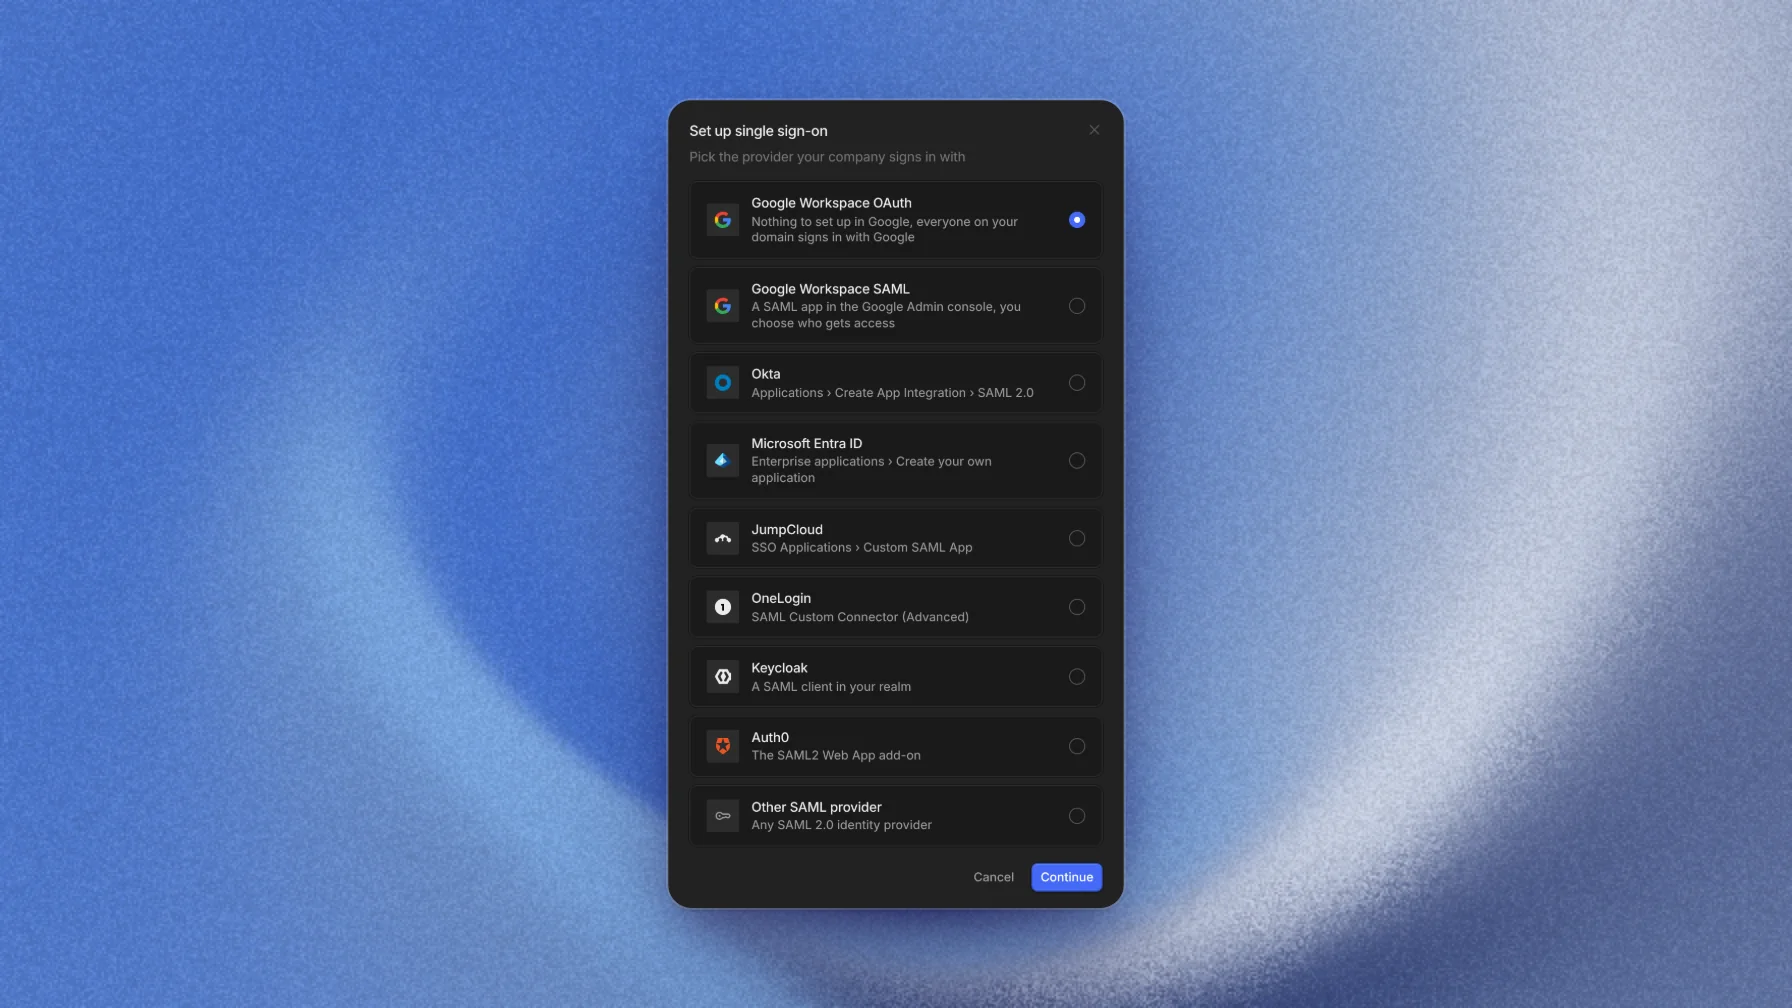
If you picked Google Workspace OAuth, Capy connects the domain to Google. The connection shows Connecting and then Active.
If you picked a SAML provider, Capy opens a setup sheet:
Choose the domain
Under Domain, choose the verified domain. Everyone with an address on this domain signs in through your provider.Add Capy to your provider
Create an app in your provider and copy Capy's values into it. Each value has a copy button. The provider guides say where each value goes.Connect your provider to Capy
Give Capy your provider's details. Most providers support Metadata URL. You can also choose Paste values and enter the sign-in URL, the entity ID, and the certificate.Save and turn on
Choose Save and turn on. Capy checks the values and shows an error next to a field that is wrong. See Troubleshooting.Confirm
Read the dialog, then choose Turn on.Do a test sign-in
Open the Identity & access page in a private browser window. Sign in with an email address on your domain, through your provider. Copy link on the connection copies the page link.
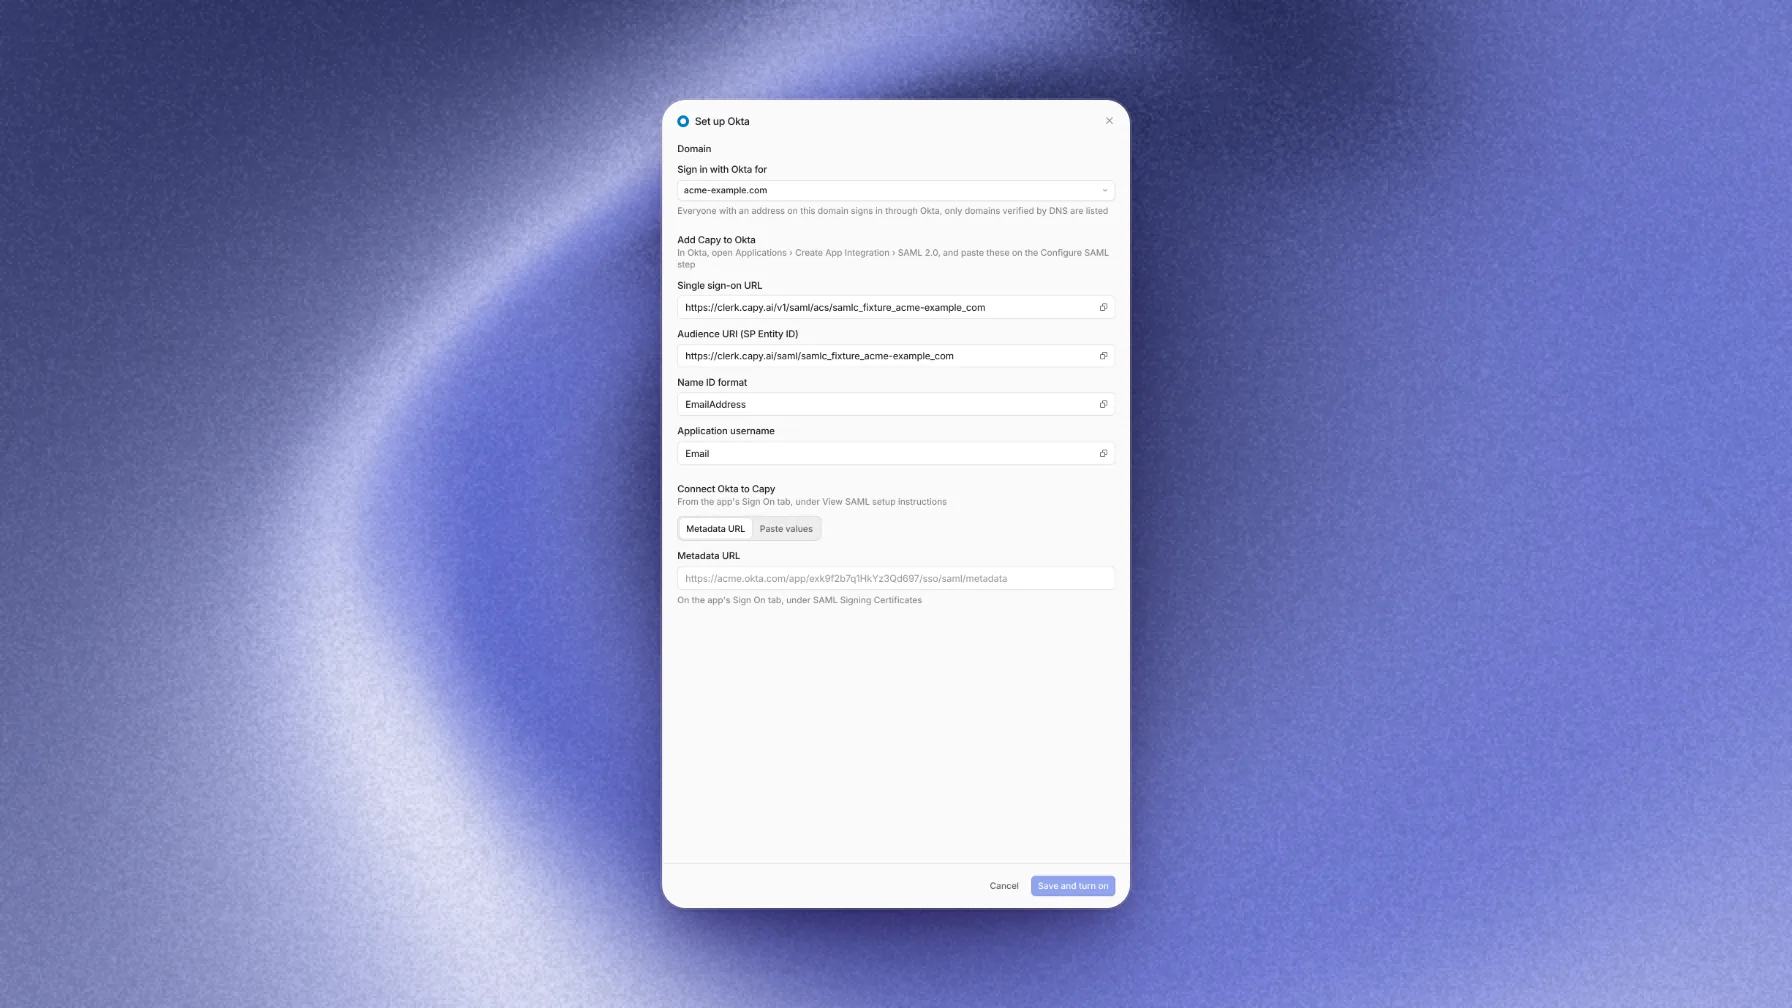
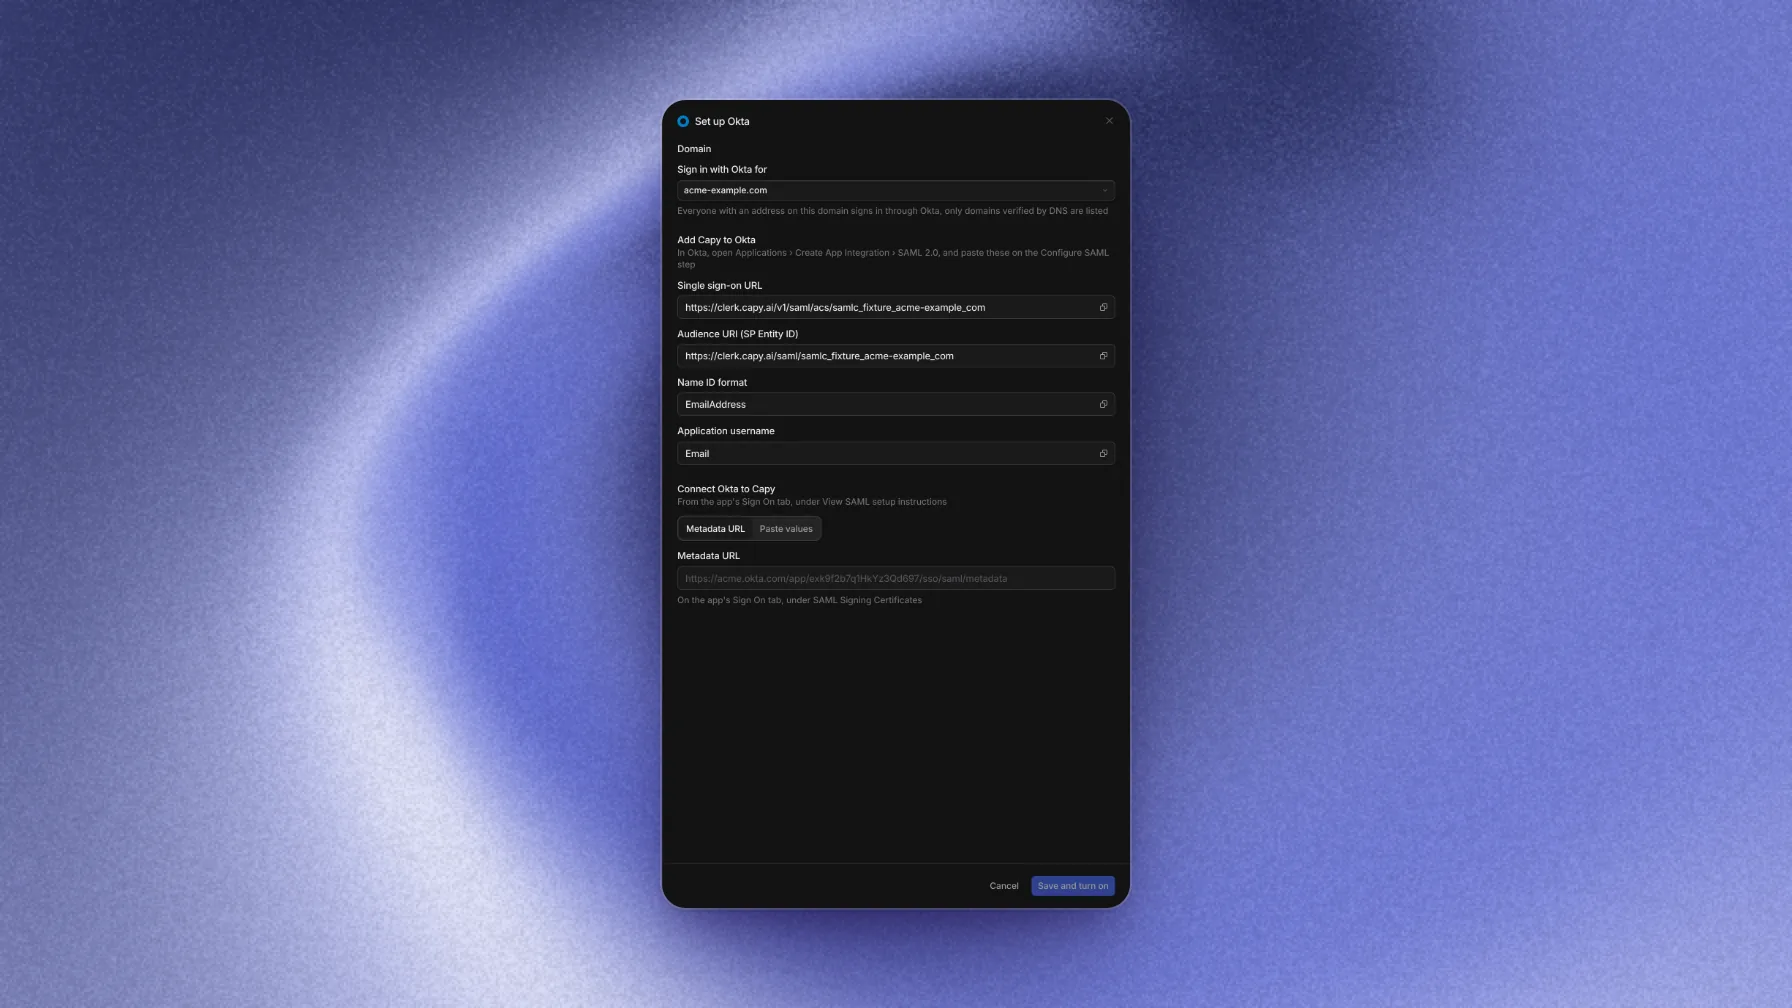
If you close the sheet before you save, the connection stays as a Draft. Choose Continue on the connection to finish it.
The connection shows Waiting for a test sign-in until someone signs in through it. After that, it shows Active and the date of the test.
Provider guides
Each guide says where to create the app and where each value from Capy goes. In every provider, assign the app to the people or groups who use Capy. People who aren't assigned can't sign in to Capy.
Capy matches each person to their Capy account by email address. To fill in first and last names, send the firstName and lastName attributes.
Google Workspace SAML
- In the Google Admin console, open Apps → Web and mobile apps → Add custom SAML app.
- On the Google Identity Provider details step, copy the SSO URL, Entity ID, and Certificate. You can choose Download metadata instead.
- On the Service provider details step, paste Capy's ACS URL and Entity ID. Set Name ID format to
EMAILand Name ID to Basic Information → Primary email. - On the Attributes step, map First name to
firstNameand Last name tolastName. - Under User access, turn the app on for the people or groups who use Capy.
- In Capy, choose Paste values and enter the SSO URL, entity ID, and certificate. You can choose Metadata file and upload
GoogleIDPMetadata.xmlinstead.
Okta
- In Okta, open Applications → Create App Integration → SAML 2.0.
- On the Configure SAML step, paste Capy's Single sign-on URL and Audience URI (SP Entity ID). Set Name ID format to
EmailAddressand Application username toEmail. - Under Attribute Statements, add
email,firstName, andlastName. - On the Assignments tab, assign the app to people or groups.
- In Capy, choose Metadata URL and paste the metadata URL from the app's Sign On tab. You can choose Paste values instead and enter the Identity Provider Single Sign-On URL, Identity Provider Issuer, and X.509 Certificate.
Microsoft Entra ID
- In Entra, open Enterprise applications → New application → Create your own application, then Single sign-on → SAML.
- Under Basic SAML Configuration, paste Capy's Identifier (Entity ID) and Reply URL (Assertion Consumer Service URL).
- Under Attributes & Claims, check that the email address, given name, and surname claims are present. Entra adds them by default.
- Under Users and groups, assign people or groups.
- In Capy, choose Metadata URL and paste the App Federation Metadata Url from SAML Certificates. You can choose Paste values instead and enter the Login URL, Microsoft Entra Identifier, and Certificate (Base64).
JumpCloud
- In JumpCloud, open SSO Applications → Add New Application → Custom SAML App.
- On the SSO tab, paste Capy's ACS URLs and SP Entity ID. Set SAMLSubject NameID to
email. - Add the attributes
email,firstName, andlastName. - Give the user groups that use Capy access to the app.
- In Capy, choose Paste values and enter the IDP URL, IdP Entity ID, and IDP Certificate from the app's SSO tab.
OneLogin
- In OneLogin, add the SAML Custom Connector (Advanced) app.
- On the Configuration tab, paste Capy's Audience (EntityID), ACS (Consumer) URL, and ACS (Consumer) URL Validator.
- Add the parameters
email,firstName, andlastName. - Assign the app to the people who use Capy.
- In Capy, choose Metadata URL and paste the Issuer URL from the SSO tab. You can choose Paste values instead and enter the SAML 2.0 Endpoint (HTTP), Issuer URL, and X.509 Certificate.
Keycloak
- In Keycloak, create a SAML client in your realm.
- Paste Capy's entity ID as the Client ID and Capy's ACS URL in Valid redirect URIs. Set Name ID format to
email. - Add mappers for
email,firstName, andlastName. - In Capy, choose Metadata URL and paste the SAML 2.0 Identity Provider Metadata URL from Realm settings → Endpoints. You can choose Paste values instead and enter the SSO URL, the Realm entity ID, and the Realm RS256 certificate from Realm settings → Keys.
Auth0
- In Auth0, create a Regular Web Application and turn on the SAML2 Web App add-on.
- Paste Capy's ACS URL as the Application Callback URL.
- In the add-on settings, map
email,firstName, andlastName. - In Capy, choose Metadata URL and paste the Identity Provider Metadata URL from the add-on's Usage tab. You can choose Paste values instead and enter the Identity Provider Login URL, Issuer, and Identity Provider Certificate.
Other SAML provider
Capy works with any SAML 2.0 identity provider.
- In your provider, create a SAML app with Capy's ACS URL and SP entity ID. Some providers accept Capy's SP metadata URL instead.
- Send the email address as the Name ID, and add the attributes
email,firstName, andlastName. - In Capy, choose Metadata URL and paste the IdP metadata URL. You can choose Paste values instead and enter the SSO URL, IdP entity ID, and X.509 certificate.
What members experience
When single sign-on is on, everyone with an email address on the domain signs in to Capy through your provider. This applies in every organization, so it includes people on the domain who aren't in your organization.
- People who are already signed in stay signed in. They use your provider at their next sign-in.
- A member's first sign-in through your provider opens their existing Capy account. Their threads, memberships, and settings stay.
- Capy counts a sign-in through your provider as two-step verification. Turn on MFA in your provider.
- People on the domain can't sign in to the Capy mobile apps. They sign in at capy.ai or in the desktop app.
Require single sign-on
Until you require single sign-on, members on the domain can still sign in another way, for example with a password. After you turn on Require single sign-on, members whose email address is on the domain can use your organization only after they sign in through your provider.
You can turn on Require single sign-on when all of these are true:
- The connection is active.
- Someone signed in through the connection after its provider details last changed. The test sign-in from setup counts.
- The domain is verified with DNS.
Require single sign-on applies only while the connection is active. While Capy pauses the connection, members can sign in the way they did before.
Warning
Manage the connection
Open the menu on the connection to change it.
| Action | Result |
|---|---|
| Edit | Changes your provider's details. Capy uses the new values from the next sign-in. If the sign-in URL, entity ID, or certificates change, the connection waits for a new test sign-in. Turn off Require single sign-on first. |
| Add certificate | Adds a certificate before your provider rotates its signing key. Capy trusts the old and the new certificate, so sign-ins keep working when your provider switches. A connection trusts up to 5 certificates. |
| Turn off | Stops single sign-on and keeps the connection's settings. Members sign in the way they did before. Turn off Require single sign-on first. |
| Turn on | Starts single sign-on again after Turn off. |
| Remove | Deletes the connection. Members sign in the way they did before, and their accounts and memberships stay. Turn off Require single sign-on first. |
To disconnect Google Workspace OAuth, choose Disconnect in its menu. Members go back to signing in with a password, a Google account, or an email code.
Capy pauses a connection in these cases:
- The domain loses its DNS verification.
- The single sign-on add-on ends. To end it, choose Cancel single sign-on in Billing. Single sign-on stays active until the end of the billing cycle.
A paused connection starts again when the domain is verified and the add-on is active.
Switch providers
To move to a different provider, for example from Google Workspace OAuth to Google Workspace SAML:
- If Require single sign-on is on, turn it off.
- Remove or disconnect the current connection. Members on the domain sign in the way they did before.
- Set up the new provider and do a test sign-in.
- Turn on Require single sign-on again.
Members keep their Capy accounts. Their next sign-in through the new provider opens the same account.
Troubleshooting
Could not read the metadata at this URL
Enter a URL that starts with https://
https:// URLs.This is not SAML identity provider metadata
Enter the identity provider's entity ID
This is not an X.509 certificate
-----BEGIN CERTIFICATE----- and -----END CERTIFICATE----- lines.